This article may contain links to products and services we use and recommend. We may receive compensation when you click on links to those products. For more information, see our Disclosure Policy.
Today’s article discusses what it costs us to start our van life in New Zealand. But, before we jump into the details, here is some background for you: When we farewelled our corporate lives in Sydney, we had a goal: to earn enough money to sustain our lifestyle for as long as we enjoy it. Our plan included exploring New Zealand after a year in the Americas to develop sources of income beyond our financial investments and our website.
As public transport in New Zealand is not as developed as in Europe, we figured the best way to get around New Zealand was in a campervan. We could explore this beautiful country and, at the same time, search for a property that could generate income all year round. And that’s what we did in 2018.
Not only do we share our set-up (and sales) costs here, but we also keep tabs on our travel costs in Aotearoa. Given that we are talking about New Zealand, the amounts quoted are all in New Zealand Dollars (NZD).

Ford Transit campervan inside looking from the rear
Campervan purchase
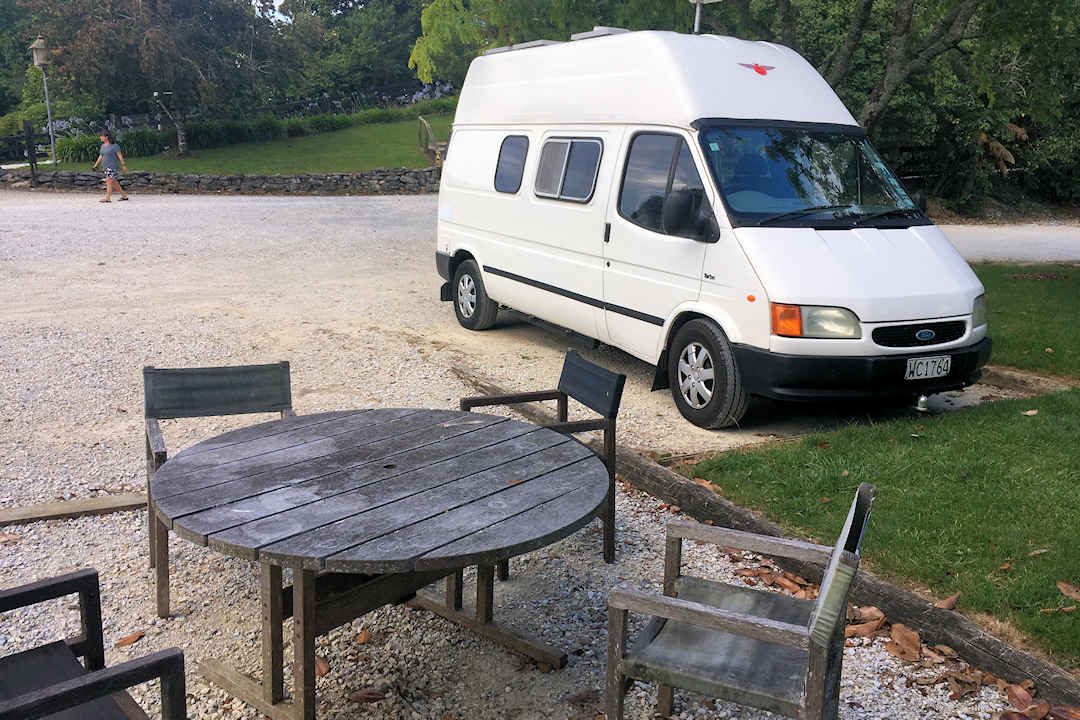
In early November 2017, we paid NZD15,500 for our 1997 Ford Transit Turbo-Diesel, 5-speed Manual with Long Wheel Base (LWB), High-Roof and around 340,000km in mileage. It looked mechanically sound but did show signs of rust (as to be expected with a 20-year-old vehicle), which had been bogged up and painted over.
As a former rental vehicle, it was fully equipped with a seating/sleeping area, cupboards, a wet room (containing a shower and cassette toilette), a kitchenette (with a two-burner cooktop/grill and sink), an electric water pump and (water) heater, and a three-way fridge (running on 12V while driving and on 240V or LPG when stationary).
New Zealand Road Trip Apps
Are you planning to explore New Zealand? These must-have travel apps will help you maximise your time, save money, and make your journey smoother. They are designed for the ultimate road trip adventure.
Electrical improvements
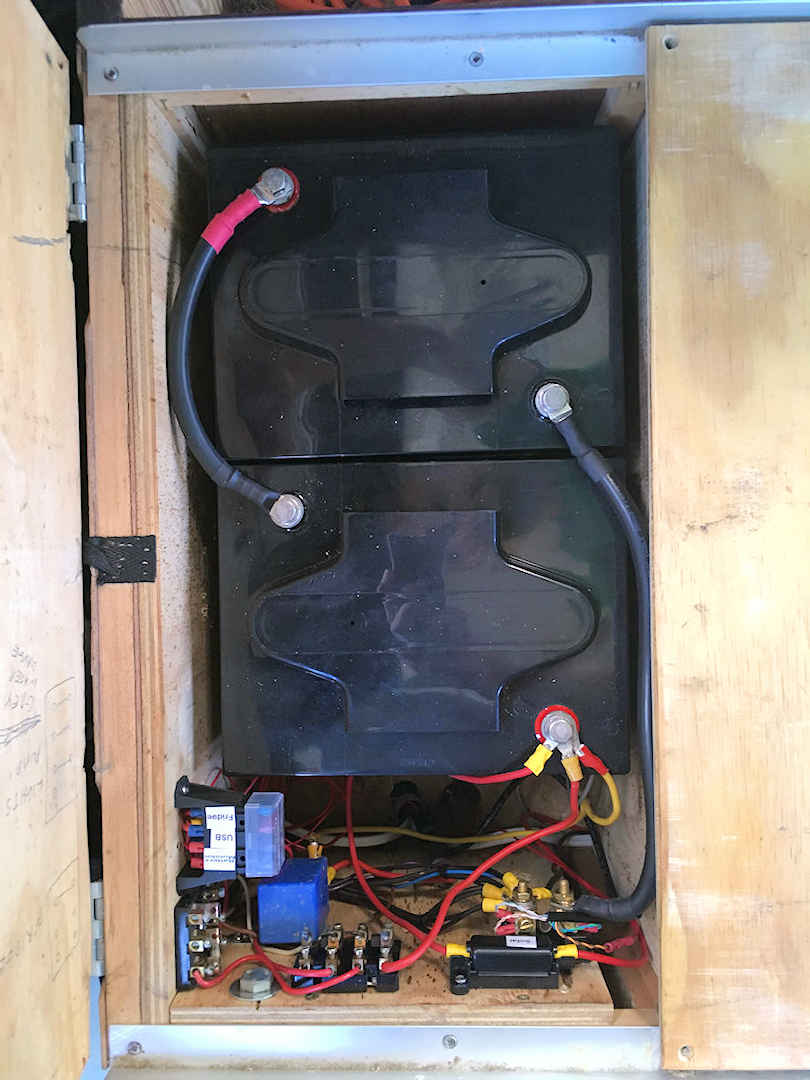
All appliances were in working order, just (for the most part) 20 years old. Our house batteries were at the end of their lives. And we learned quickly that a 3-way fridge uses too much power when in 12V mode. So, our choice would have been using LPG (we would have had to refill our 4.5kg gas bottle constantly) or plugged into mains power most of the time (which would have cost way too much). The campervan had no solar panels, so to have sufficient power, we would have had to drive daily (to charge our batteries) or be plugged into mains power. Neither was an option for us: we wanted to slowly explore the country and freedom camp in off-the-beaten-path places as much as possible.

Old house batteries - not the best setup

Two new Synergy AC6-225 (6V245Ah) batteries
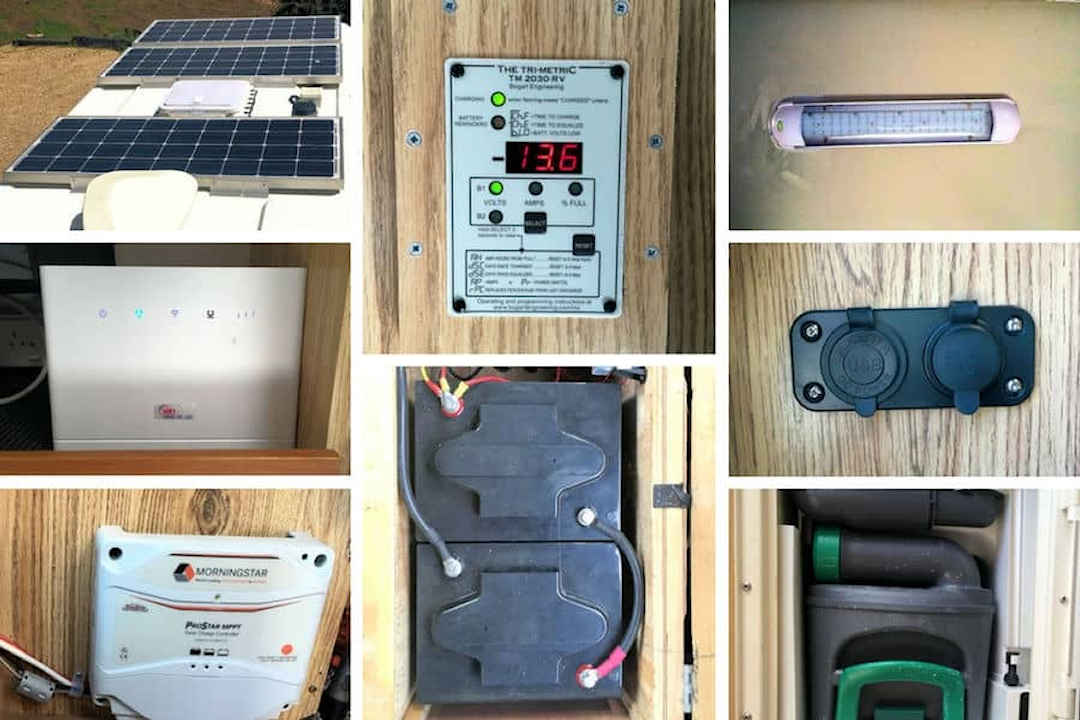
So, before we commenced our road trip in earnest in early January 2018, we spent NZD5,943 getting the following supplied and professionally installed:
- 3 x 100W Solar Panels
- MPPT-25 Solar Charge Controller
- 2 x 6V 232aH House Batteries
- Digital Battery Monitor
- 42Litre 12V Fridge/Freezer
- 2 x LED lights
- 2 x 12V/USB Charging Sockets
- Rural Service Modem and Puck Antenna through Wireless Nation – to work on the road.
All of the above was sourced through the auto electrician who installed them (given that they had the experience, and we didn’t). If you are happy to DIY, you could shave off the installation costs and source the appliances a bit cheaper (online).

New appliances installed (clockwise from top left): solar panels, battery monitor, LED strip, USB/12V charging socket, toilette, batteries, MPPT charge controller. Wifi modem)
We also spent NZD230 to close off the holes in our roof after the existing roof rack was removed to make room for our solar panels and NZD92 to get the 3-way fridge removed. We sold both – the roof rack and the fridge – to cover the cost of their removal.
Our solar panels and house batteries can run all our appliances (including our two laptops and smartphones). The solar panels have produced more than enough energy for what we require, even with some rainy days in between. We used our 240V battery charger only once in the whole year, after about 5 days of miserable weather and being stuck in one place.
Other improvements
When our 3-way fridge was removed, the gas fitter informed us that our LPG set-up was non-compliant: In New Zealand, LPG bottles must be in an airtight compartment separate from the main cabin. Ours was sitting in a cupboard with the door opening into the main cabin. Therefore, we had to change our LPG gas bottle cupboard and reconnect our stove (which cost us NZD695, most of which was for the gas compliance certificate).
As we set off on our road trip, our toilet broke down. Because spare parts were being shipped from Europe (and unavailable for several weeks), we decided to install a new toilet, which cost us another NZD896 for the appliance and labour.

New Thetford C402C toilet and LPG compliance certification
Contents
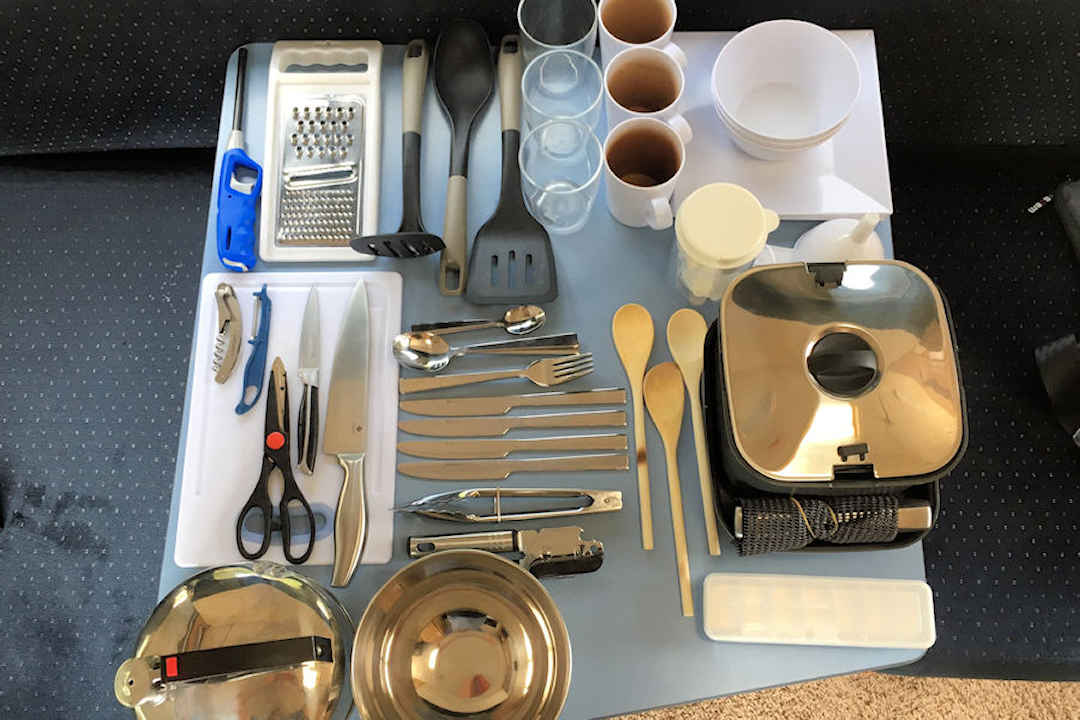
Our campervan came without utensils (no crockery and cutlery, pots and pans, etc.) and essential utilities (such as an electric cable to connect to mains power or a hose to fill up our fresh water tank).
Given that we only owned our travel packs, we needed to buy various items live in the vehicle full-time, totalling NZD1,222 (the most expensive individual items were our pots and pans, battery charger and RCD power cable). It was a strange feeling having to go and buy household items again.

Kitchen utensils for our campervan - it's all you need
Summary and learnings
Our total set-up costs (all in) were NZD24,525, including flying to Napier twice – to check out the vehicle and to pick it up – and joining the New Zealand Motor Caravan Association. We sold the vehicle for NZD13,653 in December 2018 (with all its content, on-road costs, and after-sale costs of NZD347), having travelled just under 13,800km.
Did we recuperate the costs of the improvements we made to the van? No. Did we overcapitalize? Obviously, however, our van was our home and transport for that one year. Thus, roughing it was never a consideration for us. Could we have lived cheaper? Probably. However, we are pleased to say that our year in New Zealand still worked out to be under budget.
With the benefit of hindsight, is there anything we would have done differently? Yes and no.
We had determined our requirements upfront:
- Being able to stand up in the vehicle and having space where we could work comfortably was paramount to us.
- The other non-negotiable was the wet room (we need privacy for our very personal business and don’t want to have to walk to a dingy public toilet in the middle of the night).
- Equally important was to fit the vehicle into a normal car parking spot.
Paul wasn’t keen on converting a van from scratch given we had no prior experience, and it would have been a real challenge to find a place with the right tools for us to do the conversion. So doing one up ourselves was not a consideration when we were on the lookout for a van.
Based on our requirements, the most logical choices were high-top conversions of Ford Transits, VW Transporters, Fiat Ducatos or Mercedes Sprinters. Even with higher mileage, Mercedes Sprinter-based conversions cost way more than what we were prepared to pay upfront. VW Transporter and Fiat Ducato-based conversions were too few to find a suitable one. So, Ford Transits seemed to be the obvious choice.
We learned a lot during the year we owned our campervan. So, what would we do differently if we bought one again?
- Most importantly, we would insist on a professional pre-purchase vehicle inspection. Paul got blind-sided by the guy selling us the vehicle (a mechanic), and we paid the price for it with costly repairs down the track.
- We would look for a campervan with newer appliances (especially expensive items such as a fridge/freezer and toilet) and a solar system. We would stay away from campervans that come with a 3-way fridge and the original cassette toilet.
- We would also check for LPG compliance and the type of (water) heater, preferring those operating on LPG or Diesel.
Doing a conversion ourselves (especially with the right tools) is less daunting, knowing what we know now, and it is a consideration in the future.
What is your setup, and how much did it cost you to get started?
I wrote this Van Life article based on my own experience. Do you live/travel in a campervan? What is your setup, and how much did it cost to start?
Before you go, if you liked our article and found it helpful, we would appreciate it if you could share it with your friends and family via the Share buttons below. Even better: Leave a short review on Trustpilot or Google, which would help us further build our online reputation as a (trustworthy and helpful) travel and lifestyle blog.


